IMPORTANT - PLEASE READ THIS BEFORE RUNNING THE INSTALLATION!1. You will need to run the Integration Agent Installer on your CounterPoint server. Make sure all users are logged out before running the Installer.
2. There is a chance you may have to reboot your server after completing the install. This is only necessary if your Windows server doesn’t have .NET 4 installed. You can check this by going to Start/Settings/Control Panel/Add Remove Programs. If you see anything that says .NET 4, you should not get prompted to reboot the server. If you do not have .NET 4and you can’t reboot during business hours, then plan accordingly and run the installation at a time when you will be able to reboot the server.
3. The Counterpoint V7 service packs for all supported versions of NCR Customer Connect (NCR Counterpoint 7.5.14 and later) have been updated on our Web site with support for NCR Customer Connect. If you ever need to install a service pack for your Counterpoint software after installing NCR Customer Connect, please be sure to obtain the latest version of the service pack.
Customization Note: If you have any customizations in your SSTART.GNT file, please contact your Radiant Retail Partner first for assistance before running the installation. If you are not sure whether you have customizations in this file; contact your Radiant Retail Partner to find out.
The Counterpoint V7 Integration Agent allows you to leverage your Counterpoint customer and sales data inside NCR Customer Connect.
If you have multiple stores, click here for instructions on where to run the installation.
Integration Agent Installation Instructions
1. Log on to your Counterpoint server as the administrator. Note: You must run this from the server that runs your live CounterPoint database. Do not run this on your desktop computer.
2. From your server, launch the agent installer.
3. Read the Welcome screen and click Next to start the install process.

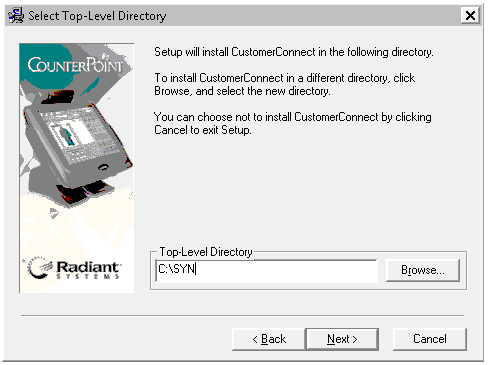
4. Select Top-Level Directory - Enter the location of your Top-Level Directory. If you are unsure of what the Top-Level Directory is, log into Counterpoint and navigate to System/Utilities/Environment and look at Top-Level Name. Enter the location listed in Counterpoint on this screen and select Next.
Note: If you cannot find your Top-Level Directory, when using the browse button click here.
The application validates Counterpoint version 7.5.14 or higher is installed. If this version is not installed, a message will be displayed informing you of this and the installation is stopped. You will be able to rerun the install after upgrading Counterpoint to the correct version.
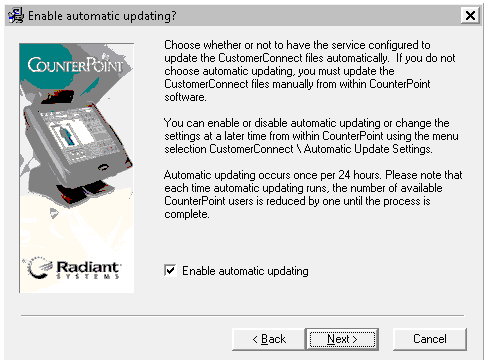
5. Enable automatic updating? - Select enable automatic updating to configure automatic updates of customer data from Counterpoint to NCR Customer Connect. Click Next after making your selection.
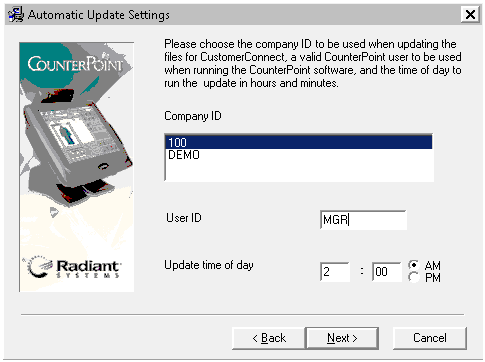
6. The Automatic Update Settings screen is displayed. Select the Company ID (for your live site, do not select a test store). Enter a valid CounterPoint User ID, then enter the time of day you'd like your Counterpoint data to be synchronized with NCR Customer Connect.
Single site users: Select a time that typically occurs after your posting has completed for the day.
Multi-site users: Select a time that occurs after your posting has completed for the day and at least 1 hour after the multi-site overnight processing begins.
Click Next, when you are done.
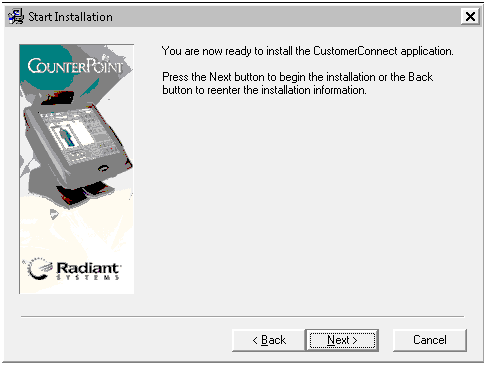
7. The Start Installation screen is displayed and the application is installed at this time, click Next.

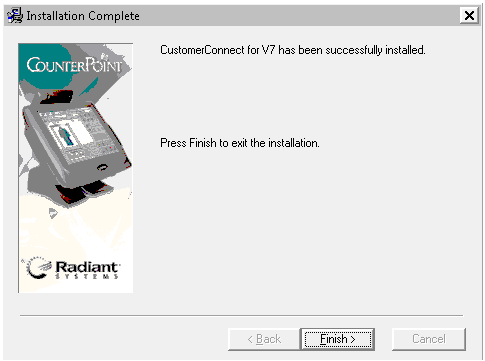
8. The Installation Complete screen is displayed when it is complete. Click Finish. IF YOU ARE PROMPTED to reboot, reboot your server as soon as you are able to.
9. Now that you have completely read the instructions, log into your Counterpoint server and click here to launch the Counterpoint V7 Integration Agent Installer or type this URL into your browser:
http://www.radiantretailapps.com/Services/Installers/CustomerConnectV7_1_5.exe and follow the instructions above.
Manual Update instructions: If you did not enable automatic updates, click here for instructions on how to manually update/synchronize your data.
If you need any assistance, contact us at [email protected].
Multiple Stores - Are you configured as a Multi-Site or Single Site store?
You have selected this option because you have more than one store. If this is not true, click here to proceed to the Integration Agent Installation Instructions.
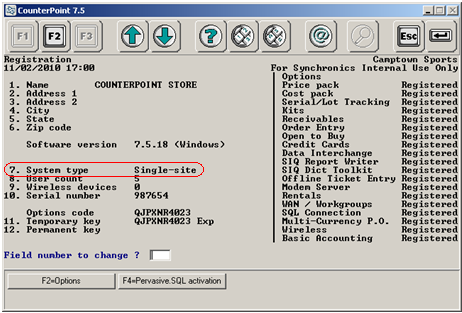
If you have more than one store, log into Counterpoint and navigate to System/Registration.
Review 7. System type, to see the type of store you have registered.
If something other than Single-site is displayed, you have a Multi-Site store.
If you are a Multi-Site store, install the Integration Agent only on the Hub's (aka First Site Server) system.
If you are a Single-Site store, install the Integration Agent on the Counterpoint server only (NOT the terminal server(s)).
After determining your configuration and where to install the Integration Agent, click here to proceed to the Integration Agent Installation Instructions.
If you need any assistance, contact us at [email protected].
If you cannot find your Top-Level Directory, Counterpoint is probably located on a mapped drive  .
.
You will need to enter the full path to your top-level directory if Counterpoint is located on a mapped drive.
If using a mapped network drive, the drive will have this icon next to it, in My Computer.
To find the full path:
• On your Counterpoint server go to Start/Run
• Type cmd and press enter
• Type net use and press enter
• Look for your drive path in the results - type this path for your top-level directory
To return to Step 4 of the Integration Agent Installer click here.
Return to Top